When I was a tween/teen, I used to love making my own jewelry. I would go to my local bead store, which was called Nomadic Notions, and would buy way too many beads and charms. Mostly I made myself necklaces and earrings, and that crazy thing is that I never learned the right way to open and close a jump ring. It's true. Only recently have I learned this skill thanks to the folks at Solid Oak Inc, who share a handy free PDF covering basic jewelry making techniques here on their site.
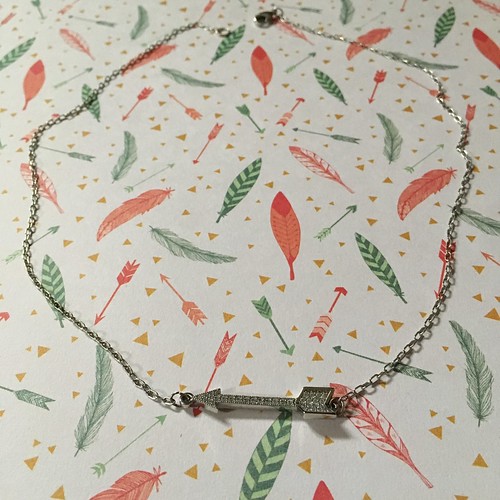
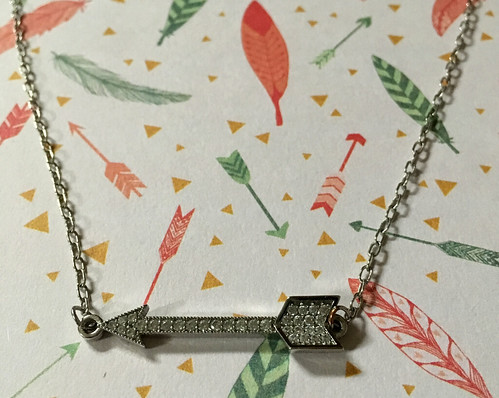
Not to long ago, the kind folks at Solid Oak sent me a ton of goodies to play with, and I've been experimenting with different ideas over the last month or so. Nowadays, I don't wear a lot of jewelry, and when I do it tends to be something that's small and simple. My first (and favorite) project is this minimalist arrow necklace using a few pieces from their Estrella line:
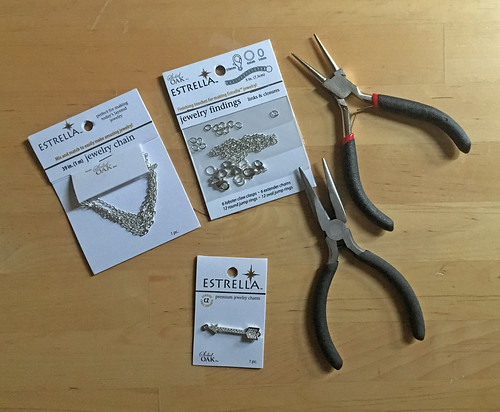
At first, I thought that the CZ arrow charm would be a bit too bling-tastic for my usual jeans-and-a-t-shirt style, but it turns out to add the perfect amount of sparkle. I used half a length of jewelry chain and these jewelry findings to make this necklace for just under $10!
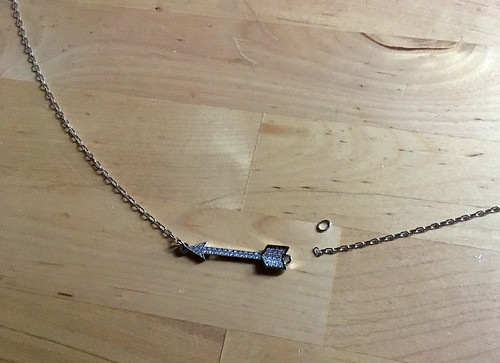
It's now my go-to necklace, and it's SO easy to make: just cut two equal lengths of chain to attach to either side of the charm with a jump ring, and then attach a lobster clasp and ring to the other end.
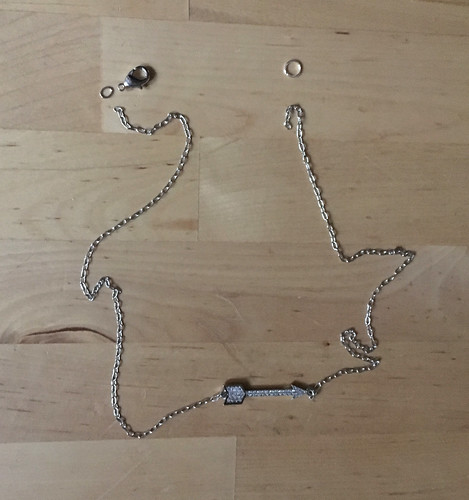
Bam! Necklace!
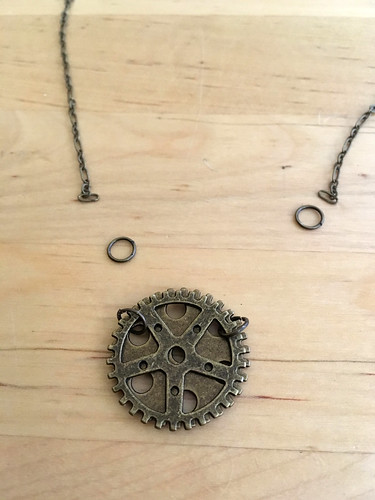
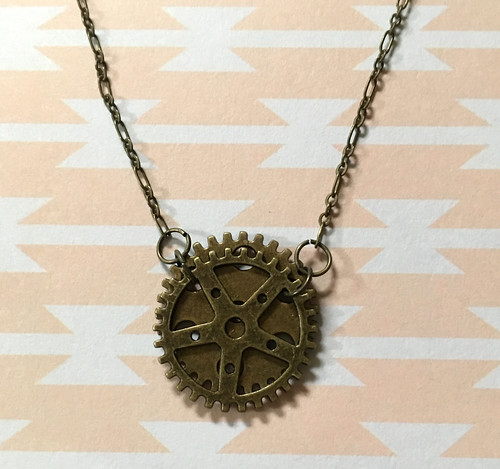
My next idea was to combine a couple of steam punk gears to create a single focal point. Similar to the arrow necklace, I cut two equal lengths of chain to attach to either side of the center charm; the trickiest part was linking both gears on either side with jump rings.
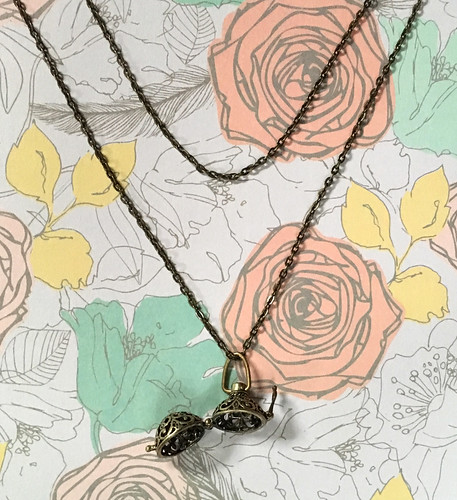
For my third necklace project, I got a little wacky and attempted a layered look with two different chain lengths and a simple tea ball charm.
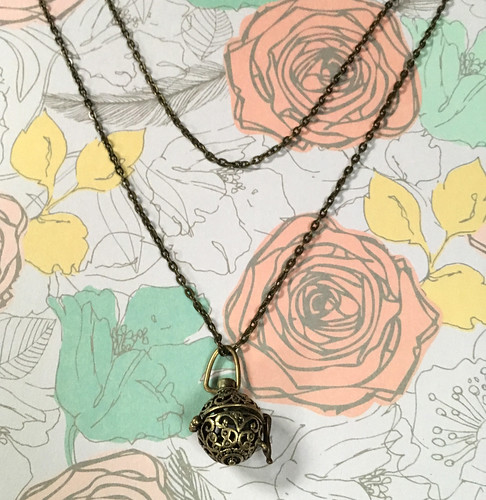
I think the longer chain could stand to lose some length, so I might go back and shorten it. Otherwise, I'm pretty happy with how this experiment turned out - and look, the tea ball really opens!
Overall, I've been extremely impressed with the quality of each item I've tried from Solid Oak, especially for the price - each thing is super affordable. I still have lots of charms and chains to play with, so I will definitely be dreaming up more combinations to share with you soon!
Not to long ago, the kind folks at Solid Oak sent me a ton of goodies to play with, and I've been experimenting with different ideas over the last month or so. Nowadays, I don't wear a lot of jewelry, and when I do it tends to be something that's small and simple. My first (and favorite) project is this minimalist arrow necklace using a few pieces from their Estrella line:
At first, I thought that the CZ arrow charm would be a bit too bling-tastic for my usual jeans-and-a-t-shirt style, but it turns out to add the perfect amount of sparkle. I used half a length of jewelry chain and these jewelry findings to make this necklace for just under $10!
It's now my go-to necklace, and it's SO easy to make: just cut two equal lengths of chain to attach to either side of the charm with a jump ring, and then attach a lobster clasp and ring to the other end.
Bam! Necklace!
My next idea was to combine a couple of steam punk gears to create a single focal point. Similar to the arrow necklace, I cut two equal lengths of chain to attach to either side of the center charm; the trickiest part was linking both gears on either side with jump rings.
For my third necklace project, I got a little wacky and attempted a layered look with two different chain lengths and a simple tea ball charm.
I think the longer chain could stand to lose some length, so I might go back and shorten it. Otherwise, I'm pretty happy with how this experiment turned out - and look, the tea ball really opens!
Overall, I've been extremely impressed with the quality of each item I've tried from Solid Oak, especially for the price - each thing is super affordable. I still have lots of charms and chains to play with, so I will definitely be dreaming up more combinations to share with you soon!
Comments
Post a Comment