
Happy Holidaze!

Merry whatever-you-celebrate!

For the second year in a row, my husband and I made our holiday cards from scratch. I drew the design onto a piece of acetate, which he then burned to a screen - here's a shot of him rinsing the screen after completing this first step:


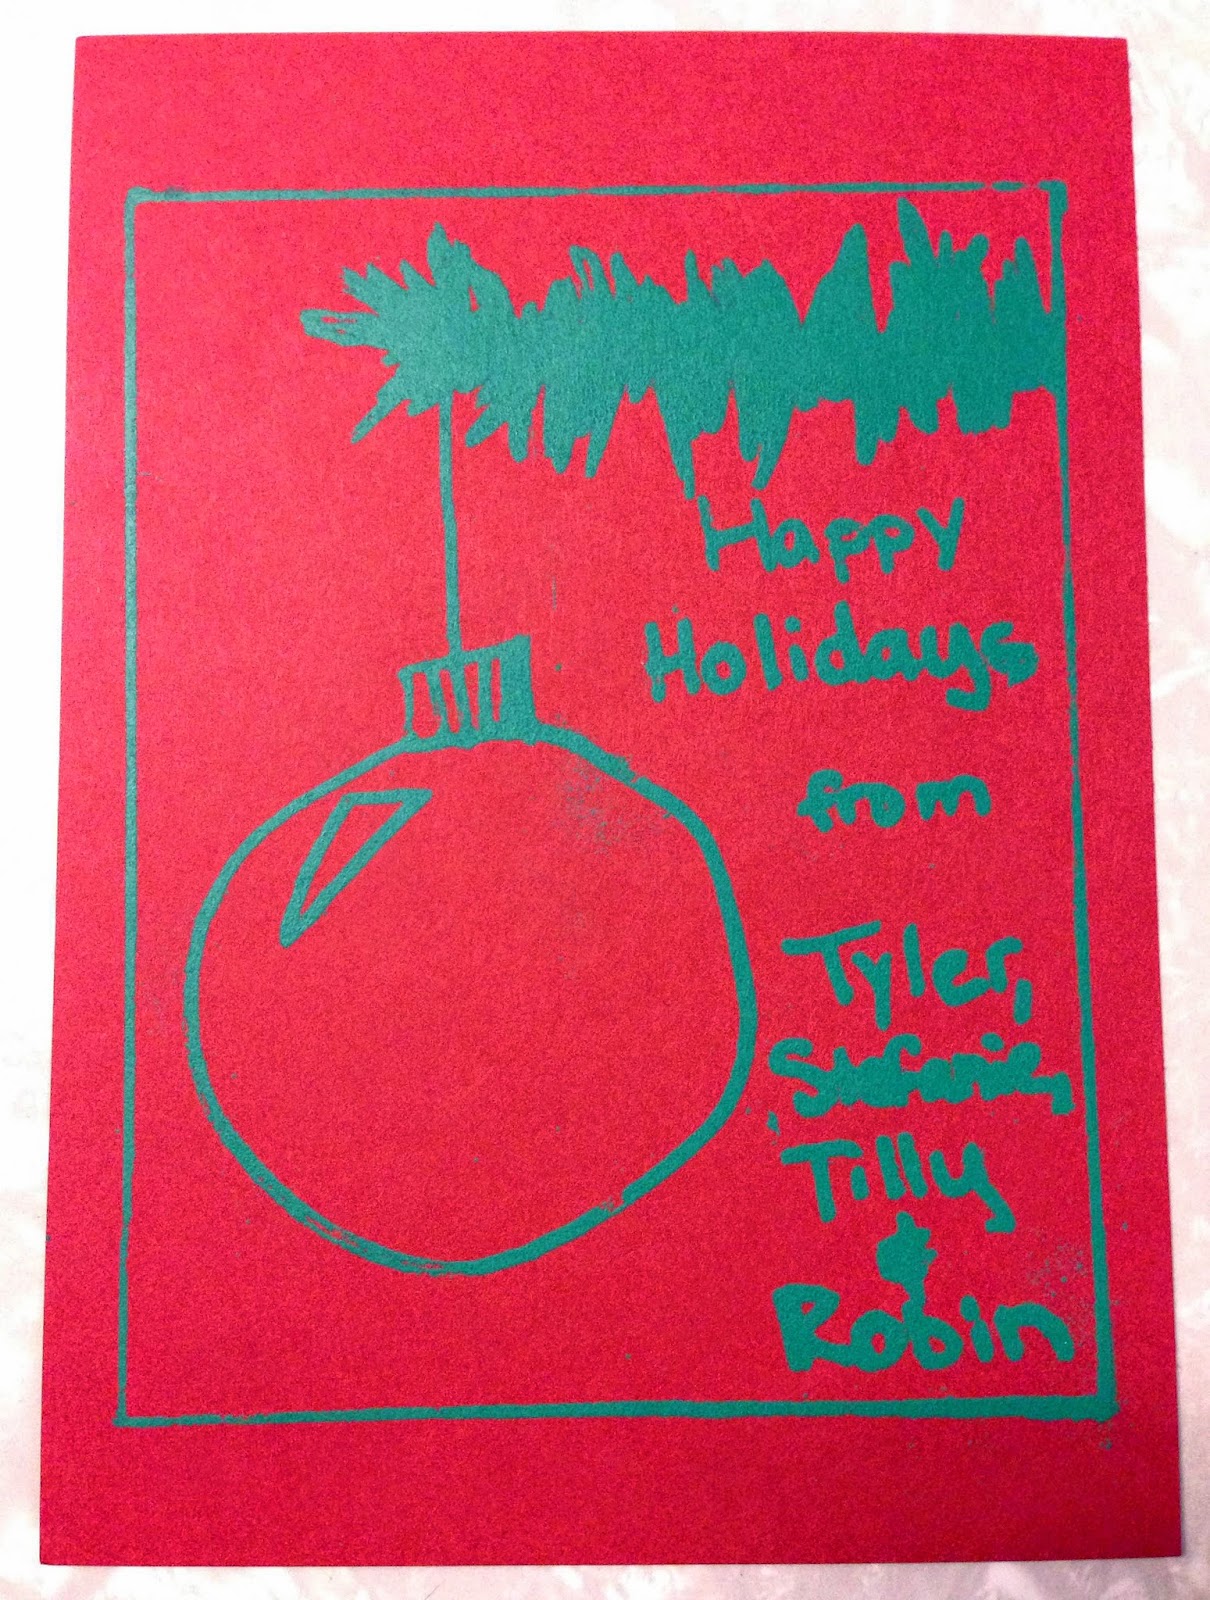
Then, with the help of tiny elf of course, he printed the design onto card stock:


Our original plan was to use silver ink on the red cards, but we had to do an 11th hour substitution when the jar of silver ink we thought we had on hand was nowhere to be found. Hence, our holiday cards became a bit more pyschedelic than originally intended; seeing them all in a row like this kind of makes me cross-eyed!


All in all, I'm happy with the finished product, and it was MUCH easier to pull together than last year's ambitious four-color design (which you can see here).


Comments

  1. I love them, so cute. Your link for last years though just leads to a song on youtube ;)

    ReplyDelete

Post a Comment

Popular posts from this blog

Easy DIY: Beaded Vintage Snowflake Ornament Kits from Solid Oak Inc.

I was really excited to step outside of my comfort zone and try something new as part of my "Christmas in July" theme this month. The kind folks at Solid Oak Inc offered me a chance to review one of their Nostalgic Christmas beaded crystal ornament kits I couldn't resist. My tree is already full of ornaments I've inherited or been gifted from other family members and friends,  so these pretty crystal beaded ornaments will fit right in I think! I was super impressed with  this compact little kit , which includes everything needed to create three gorgeous vintage-style ornaments - just add a pair of round nose pliers (I found mine on Amazon for less than ten bucks).  The instructions had some fabulous tips for newbies like me; for example, it recommended sorting the beads and laying them out in order on a towel or beading mat to prevent them from rolling away. That may seem obvious, but I was totally ready to start beading on my kitchen table without a

What If I Didn't Add Heels?

Last weekend, I finished the first sock with my Waterlilies yarn , and just for yuks, I tried it on even though it was basically just a tube sock. Much to my surprise, it fit really well, even without a heel. Who knew? So, that got me thinking: what if I just didn't add the heels?  I never thought a tube sock would actually fit nicely, but I genuinely like the fit, so...why spend time to add the heels? As the saying goes, if it ain't broke, don't fix it.... Let's say I decide not to add heels once the second sock is done - there will still be placeholder yarn for the afterthought heels, as you can see above, so should I leave it in and just weave in the ends? Or should I remove it, put the live stitches back on needles and at least graft them together using more of the Waterlilies yarn? I plan on mulling all of this over as I knit the second sock, and I'd love to hear your opinions of what you think would look best (or if you think this whole "n

Overdyeing A Finished Knit

Even after just a few years of knitting or crocheting, you're bound to have some finished projects lying around that never get worn or used. After 10+ years of crafting, I have more than just "some" or "a few"....and with my ongoing quest to declutter my house this year, I've become obsessed with going through these forlorn projects and making some Big Decisions. Sometimes, they are perfectly fine and just need a new and loving home. Other projects may have not turned out quite right: there might have been some mistakes in the knitting that I thought I could live with, or the yarn was gorgeous but not well-matched to the pattern, or my  taste has drastically changed since I finished making the project...in any case, why on earth did I keep knitting?! Who knows, but I don't feel good about gifting anything that falls into this category to someone else. These projects have been relegated to the "frog pile" (or should I say, frog pond?), to b