I'd been knitting sporadically on my first project from Curls II in hopes of having made significant progress on said project by this point so that I could also share a review of the book itself. However, the last time I shared a WIP, I noticed a mistake several rows back that I knew would bother me if I left it as-is and kept knitting.
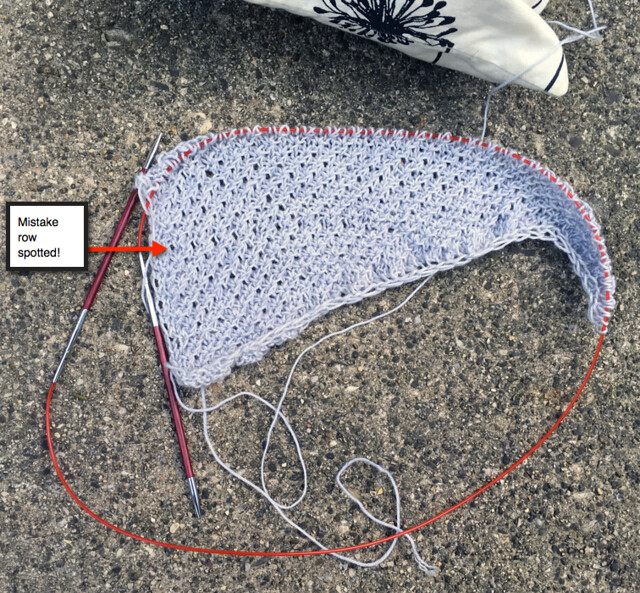
So, I frogged the entire thing. Sadly, the above was almost a month of work (well, a lot of that time was probably spent not knitting on it, but still). And though I really do love the pattern I had originally chosen (Prevarication), I have to admit that perhaps it wasn't the right one for my current state of mind at the end of the day when I just want to sit down and do a little brainless knitting. The thing is, it really isn't that difficult of a stitch pattern, but you know how sometimes you just have a mental block against something for no good reason? That seems to be me with this pattern.
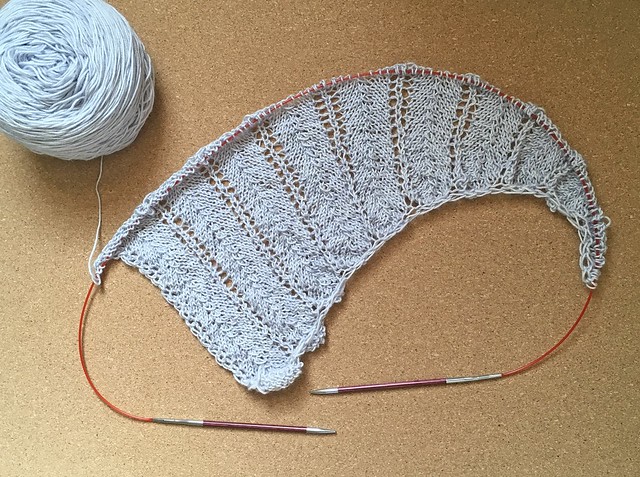
The good news is, my second choice from Curls II (Perfidy) seems to agree with my current state of mind - in fact, I was able to knit through all of the frogged ramen noodle yarn in one evening. We have a winner!
I am excited to get a little more knitted on this project so that I can finally get that Curls II book review posted. Spoiler alert: there will also be a giveaway!
So, I frogged the entire thing. Sadly, the above was almost a month of work (well, a lot of that time was probably spent not knitting on it, but still). And though I really do love the pattern I had originally chosen (Prevarication), I have to admit that perhaps it wasn't the right one for my current state of mind at the end of the day when I just want to sit down and do a little brainless knitting. The thing is, it really isn't that difficult of a stitch pattern, but you know how sometimes you just have a mental block against something for no good reason? That seems to be me with this pattern.
The good news is, my second choice from Curls II (Perfidy) seems to agree with my current state of mind - in fact, I was able to knit through all of the frogged ramen noodle yarn in one evening. We have a winner!
I am excited to get a little more knitted on this project so that I can finally get that Curls II book review posted. Spoiler alert: there will also be a giveaway!
Comments
Post a Comment