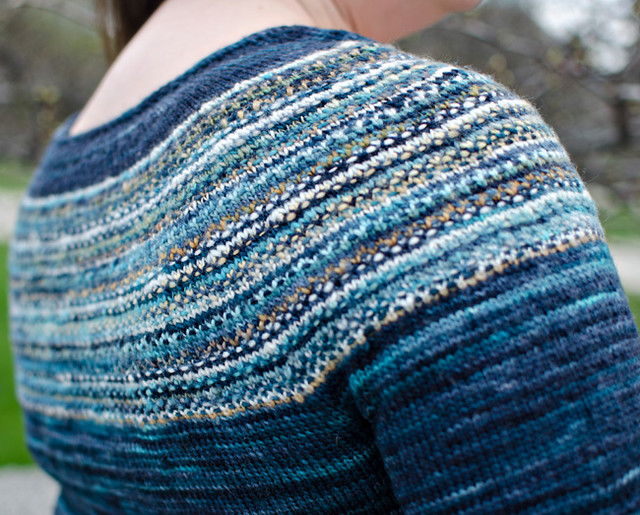
At the end of last year, my friend and colleague Mari asked if I would be willing to knit a sample of a new design of hers that would be coming out in Knitty in 2017. The idea is that my project would combine commercially-spun yarn with a handspun (by me, of course!) accent. I'd get the yarn and fiber to spin and knit with, and could keep the resulting garment. Of course I said yes!
We both picked out our yarn colors in the Fairmount Fibers/Manos del Uruguay booth at the January TNNA Trade show, and a few weeks later, a lovely box of yarn and fiber arrived on my doorstep. Originally, I think this sweater was supposed to be in worsted weight, but at some point it became a sport weight sweater, so I admit that I was a little nervous about finishing in time for our photo shoot in early April - historically, I am a pretty slow sweater knitter (see: chunky weight cardigan that's been on the needles since last August).
By some small miracle, I finished in time for our scheduled shoot - Mari lives in Raleigh, NC, but since we had a mutual workshop in downtown Chicago scheduled for April, we thought that would be a fantastic opportunity to work in a quick photo shoot.
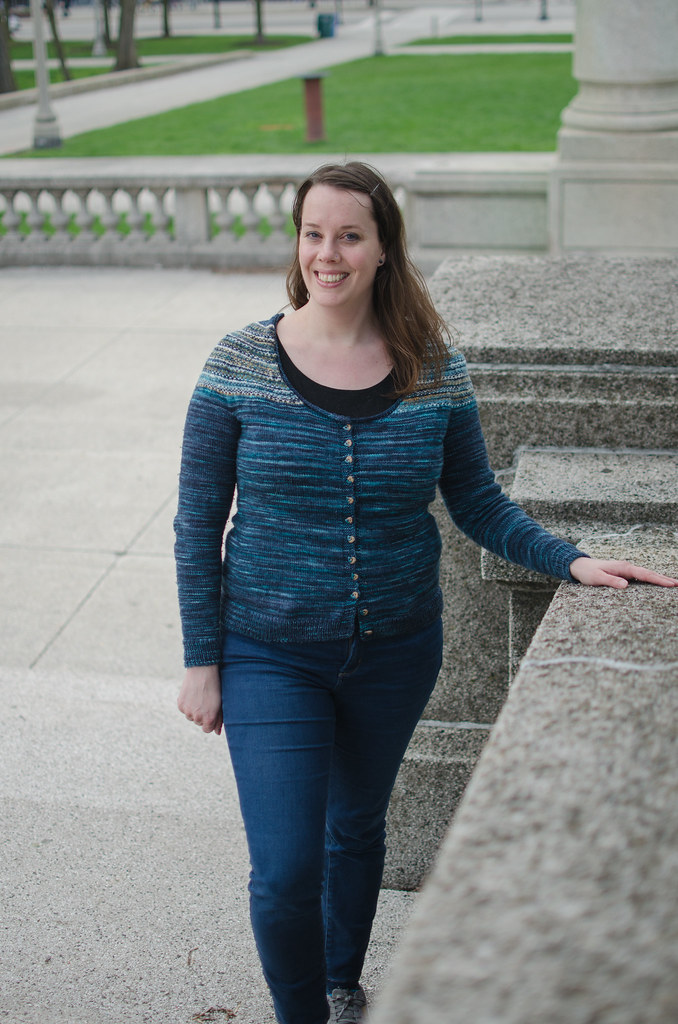
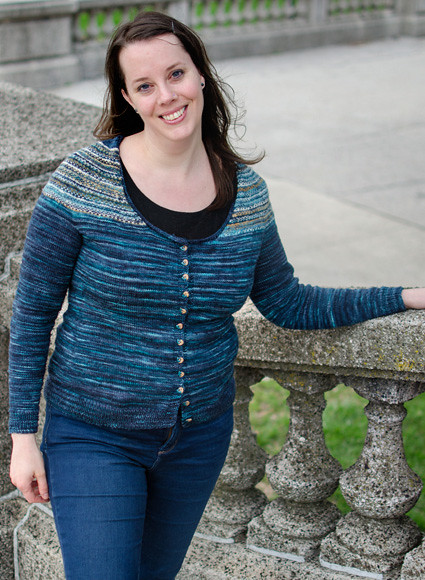
I did much of the finishing work in said workshop, including sewing on the buttons. After our workshop ended, we headed over to Grant Park to take photos before Mari headed to the airport to return home. It was a bit of a nailbiter, but I think we pulled everything together quite well, and I am absolutely loving the result.
One thing that didn't occur to me AT ALL was the fact that I'd see my face on Knitty (eep!). I was even on the blog, which I wasn't expecting at all!
The Details
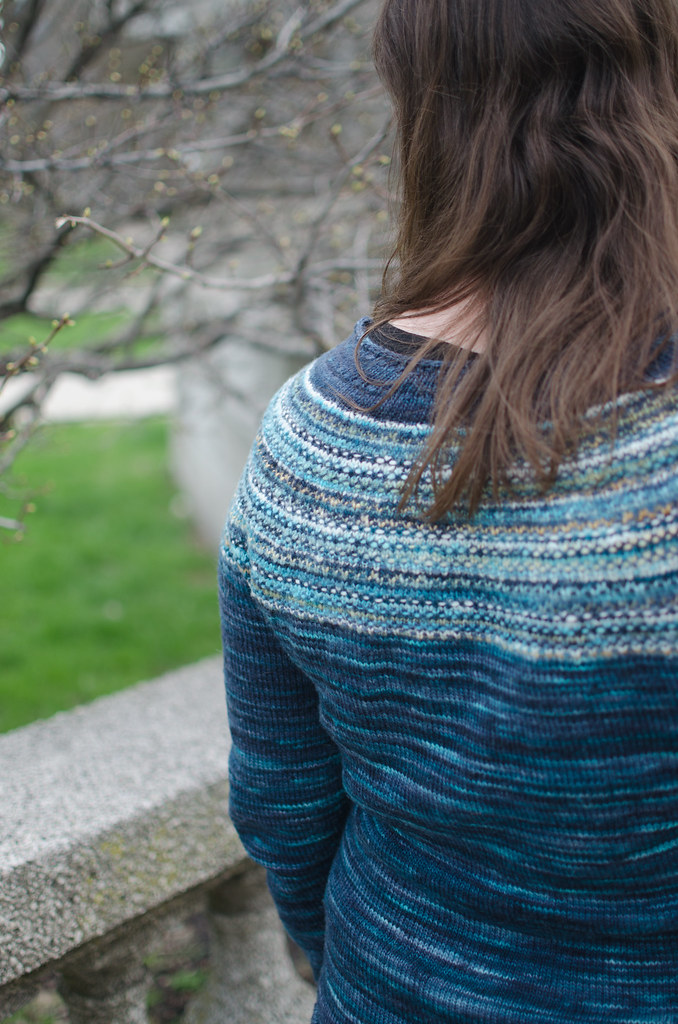
Pattern: Bosco by Mari Chiba (queue here on Ravelry)
Yarn: Manos del Uruguay Clara & Merino Roving
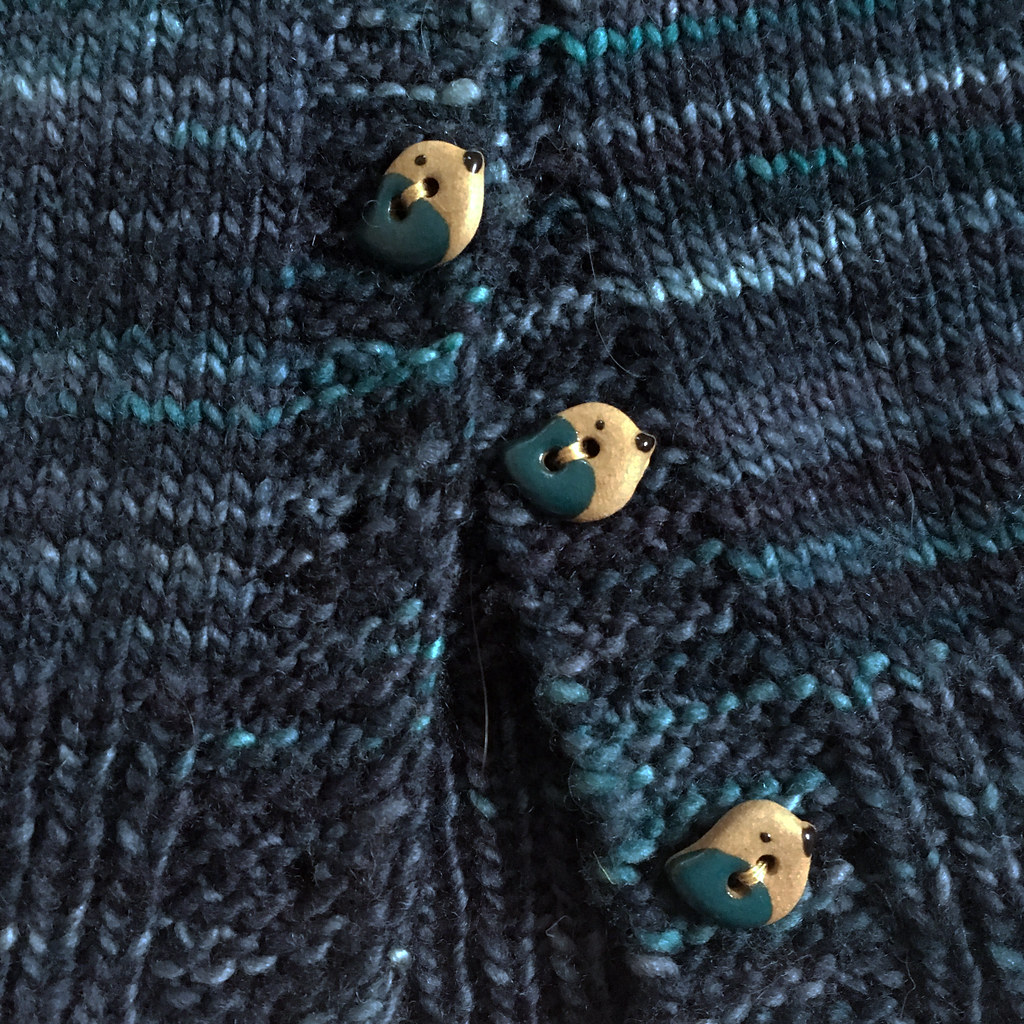
Buttons: Akonye Kenya
Besides loving how the hand dyed and handspun yarns look together, I also love that they are Fair Trade. In fact, so are the buttons - when I spotted these handmade bird buttons at the Quilt Show, I knew they'd be perfect for this project.
I'm really excited to see what colors people choose for this sweater!
You did such a great job, thanks for being a good sport about it all!
ReplyDelete