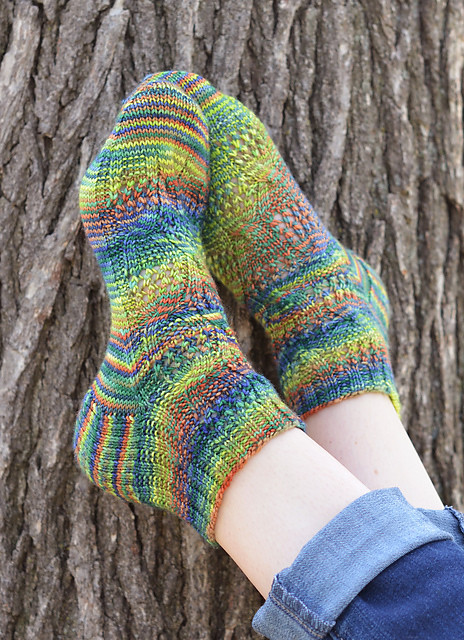
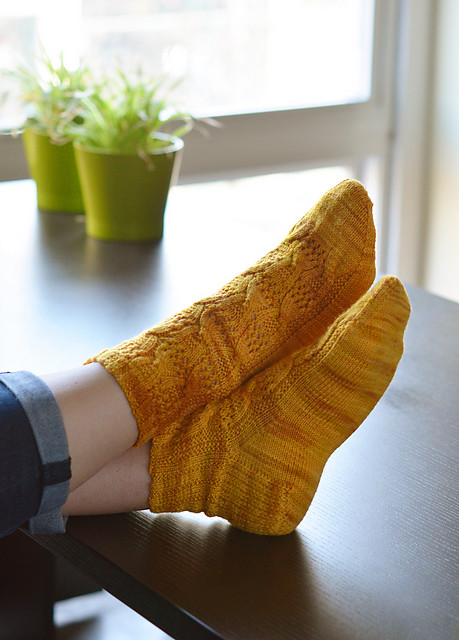
This article and pattern originally appeared in Holla Knits, an online magazine produced by my good friend Allyson Dykhuizen. She has graciously allowed me to republish here on my blog now that Holla Knits is no more, and I am super excited to relaunch one of my favorite sock designs, the Spring-tastic Socks, which are now available here in my Ravelry store! This pattern is fun to knit and looks great in both semisolid and variegated yarn.
First things first: let’s cover the terminology. Below is the basic anatomy of a sock, which you will see referenced throughout most sock knitting patterns.
Cuff: Generally, this consists of some sort of ribbing pattern - most commonly k1, p1 or k2, p1. An elastic cast-on or bindoff is recommended. For cuff-down socks, I like the Long-Tail Cast-On (which actually goes by several names - I’ve heard it also called the Turkish cast on and the German Twist Cast-On); for toe-up socks, I prefer using the sewn bindoff.
Leg: This is the easy part, where you begin working the pattern stitch!
Heel: Traditional sock knitting consists of a flap which is worked flat (usually with a slipped stitch for added durability), then short rows to create what is called the heel turn - that’s just a fancy way of saying you’ll be changing the direction of the knitted piece. After working the heel flap and turn, you will begin working in the round once again by picking up stitches along the flat on both sides as you knit around the socks. Sometimes, this process can change where the beginning of the round falls, so be sure to pay extra attention to the instructions, which may indicate that you need to account for this. Other approaches to heel-making include the short row heel, the afterthought heel, the OMG Heel by Megan Williams, the Sweet Tomato Heel by Cat Bordhi, and the Fish Lips Kiss Heel by Sox Therapist.
Gusset: In this section, you will begin decreasing on either side of the foot. If you are working a sock on 4 DPNs, these are the stitches which are on the first and last DPNs of the round (Needles 1 and 4), which hold the heel turn and picked up stitches. They will usually be knit in stockinette stitch; if you are working on magic loop, these are placed on one half of the needle.
Instep: This indicates the top of the foot, where the pattern of the leg is often continued. If you are working on 4 DPNs, there are the stitches on the middle two DPNs (Needles 2 and 3); if you are working on magic loop, these stitches are placed on the opposite half of the needle.
Foot: This indicates the section of the foot where you will be working even in established pattern - that is, stockinette stitch on the bottom of the foot, and the pattern stitch on the top (instep).
Toe: In cuff-down socks, this is where decreases are placed to create a rounded toe and finish the sock; to close the toe securely, grafting with kitchener stitch is recommended. In toe-up socks, this is the start of the whole thing! Judy’s magic cast-on or a knitted tab toe are often how toe-up socks are started; stitches are then increased to work the foot.
Now that you have the vocabulary down, it’s time to talk a little more about the specifics. Socks can be knit toe-up, cuff-down, and even side-to-side on double-pointed needles (DPNs) or on circular needles via magic loop. Lots of folks knit their socks two-at-a-time to avoid what is commonly known as second sock syndrome. They can also be crocheted if you’re so inclined!
Sock knitting is a tradition that dates back hundreds of years, and there are some very creative folks in the industry who are dreaming up new and interesting ways of exploring socks. I encourage you to try out each technique for yourself to see if it works for you!
The great thing about socks is that they are fairly easy to customize, since you can try them on as you knit. Most sock patterns are written for a given circumference (usually ranging from about 7-9 inches for an adult-sized sock), which can be confusing to beginners. In most cases, this circumference can have you covered for both the leg AND the foot, believe it or not! While there are always exceptions to the rule, the circumference of your leg is roughly the same as the circumference of your foot when measured at the arch - and since most socks are designed with negative ease, the differences between these two measurements is negligible except in the most extreme cases - and if it’s not, you can always add or remove gusset stitches to accommodate for the difference!
Besides having an incredibly useful finished product (especially if you live somewhere with a cold winter), there are lots of compelling reasons to give sock knitting a try. Socks are a portable project that’s perfect for the warmer months since you don’t have to worry about having a hot pile of wool on your lap as you work. Plus, they are affordable to make, since you generally only need a skein or two of fingering weight yarn to make a pair. Many knitters claim that sock yarn doesn’t count as stash, so if you are trying to cold sheep this year - you may have just found your loophole! Finally, they make great gifts to give to that stitch-worthy person on your list.
I hope you are inspired to give sock knitting a try. Be sure to check out my other sock patterns here on Ravelry, too!
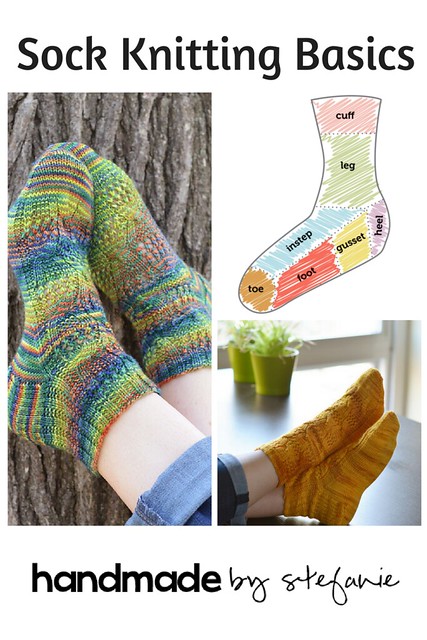
Like this post? Pin it!
 |
| The Spring-tastic Socks are shown here in the Periquito colorway of Manos del Uruguay Alegria Sock. |
Sock Knitting Basics
Sock knitting is a pretty vast subject, so this article in no way purports to cover every aspect - but it will help you to tackle your first pair of socks with confidence and give you some ideas for future sock exploration.First things first: let’s cover the terminology. Below is the basic anatomy of a sock, which you will see referenced throughout most sock knitting patterns.
 |
Cuff: Generally, this consists of some sort of ribbing pattern - most commonly k1, p1 or k2, p1. An elastic cast-on or bindoff is recommended. For cuff-down socks, I like the Long-Tail Cast-On (which actually goes by several names - I’ve heard it also called the Turkish cast on and the German Twist Cast-On); for toe-up socks, I prefer using the sewn bindoff.
Leg: This is the easy part, where you begin working the pattern stitch!
Heel: Traditional sock knitting consists of a flap which is worked flat (usually with a slipped stitch for added durability), then short rows to create what is called the heel turn - that’s just a fancy way of saying you’ll be changing the direction of the knitted piece. After working the heel flap and turn, you will begin working in the round once again by picking up stitches along the flat on both sides as you knit around the socks. Sometimes, this process can change where the beginning of the round falls, so be sure to pay extra attention to the instructions, which may indicate that you need to account for this. Other approaches to heel-making include the short row heel, the afterthought heel, the OMG Heel by Megan Williams, the Sweet Tomato Heel by Cat Bordhi, and the Fish Lips Kiss Heel by Sox Therapist.
Gusset: In this section, you will begin decreasing on either side of the foot. If you are working a sock on 4 DPNs, these are the stitches which are on the first and last DPNs of the round (Needles 1 and 4), which hold the heel turn and picked up stitches. They will usually be knit in stockinette stitch; if you are working on magic loop, these are placed on one half of the needle.
Instep: This indicates the top of the foot, where the pattern of the leg is often continued. If you are working on 4 DPNs, there are the stitches on the middle two DPNs (Needles 2 and 3); if you are working on magic loop, these stitches are placed on the opposite half of the needle.
Foot: This indicates the section of the foot where you will be working even in established pattern - that is, stockinette stitch on the bottom of the foot, and the pattern stitch on the top (instep).
Toe: In cuff-down socks, this is where decreases are placed to create a rounded toe and finish the sock; to close the toe securely, grafting with kitchener stitch is recommended. In toe-up socks, this is the start of the whole thing! Judy’s magic cast-on or a knitted tab toe are often how toe-up socks are started; stitches are then increased to work the foot.
More Fun Facts About Socks
Now that you have the vocabulary down, it’s time to talk a little more about the specifics. Socks can be knit toe-up, cuff-down, and even side-to-side on double-pointed needles (DPNs) or on circular needles via magic loop. Lots of folks knit their socks two-at-a-time to avoid what is commonly known as second sock syndrome. They can also be crocheted if you’re so inclined!
Sock knitting is a tradition that dates back hundreds of years, and there are some very creative folks in the industry who are dreaming up new and interesting ways of exploring socks. I encourage you to try out each technique for yourself to see if it works for you!
 |
| The Spring-tastic Socks are shown here in the Poppy Field colorway of Knit Picks Stroll Tonal. |
Besides having an incredibly useful finished product (especially if you live somewhere with a cold winter), there are lots of compelling reasons to give sock knitting a try. Socks are a portable project that’s perfect for the warmer months since you don’t have to worry about having a hot pile of wool on your lap as you work. Plus, they are affordable to make, since you generally only need a skein or two of fingering weight yarn to make a pair. Many knitters claim that sock yarn doesn’t count as stash, so if you are trying to cold sheep this year - you may have just found your loophole! Finally, they make great gifts to give to that stitch-worthy person on your list.
I hope you are inspired to give sock knitting a try. Be sure to check out my other sock patterns here on Ravelry, too!
Like this post? Pin it!

I had no idea there was so much detail in knitting socks! It makes sense that a nicely done, pair of hand-made socks can be a bit more expensive, but the investment is totally worth it with proper coupon management. I'm definitely inspired to give sock knitting a try, especially what that colorful yarn.
ReplyDelete