In all of my 10+ years of knitting, would you believe that I have never tried a sock blank?! I've admired them on Instagram and at fiber shows but have never actually used one until I was sent a very lovely and luxurious blank to try out from Zen Yarn Garden.
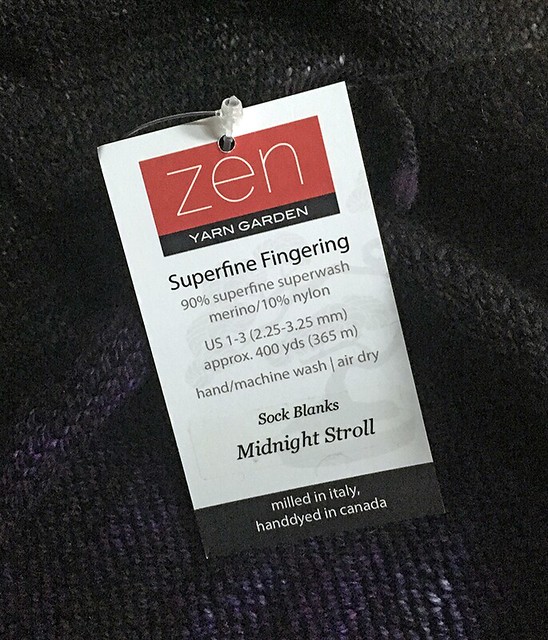
Part of a Zulily event, these blanks were produced in limited quantities and I'm not sure if the exact blank I used is currently available. They're approximately 400 yards of a 90% superfine superwash merino blended with 10% nylon, and the colorway I received was Midnight Stroll. BUT the good news is that Zen Yarn Garden is offering a new kind of sock blank in their online store right now, called Luxe Blanx, and they're a blend of merino, cashmere and silk (oh my!) and have a whopping 750 yards per blank.
Before I talk about the pattern I knit and how much I loved the yarn, let's have a quick conversation about what a sock blank is and how to use it. A sock blank refers to a piece of fabric that has been knitted up (usually by machine) prior to the dyeing process. This allows dye to be applied to the yarn in a different way than in a skein form, and also creates a different type of patterning when knitting or crocheting with the dyed blank. A lot of dyers treat sock blanks as a canvas, where they write out words or draw pictures which then knit up in an interesting way. I really liked the painterly approach that Zen Yarn Garden brought to the sock blank I used to create a pretty gradient.
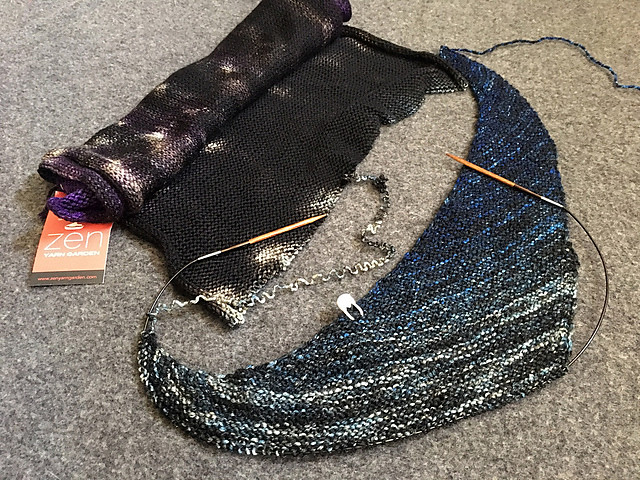
You have a a few options for working from a sock blank. Some folks prefer to wind the blank into a skein so that they can wash and try it to remove the kinks (since it arrives knit up, the yarn will look a bit like ramen noodles as you unravel it), and then wind it into a center-pull ball once it's dry. This step obviously takes the most time, but it can be worth the effort.
A less time-consuming option is to wind the blank into a center-pull ball which you knit from; this won't solve the issue of ramen noodle yarn, but it will make your project a little bit more portable.
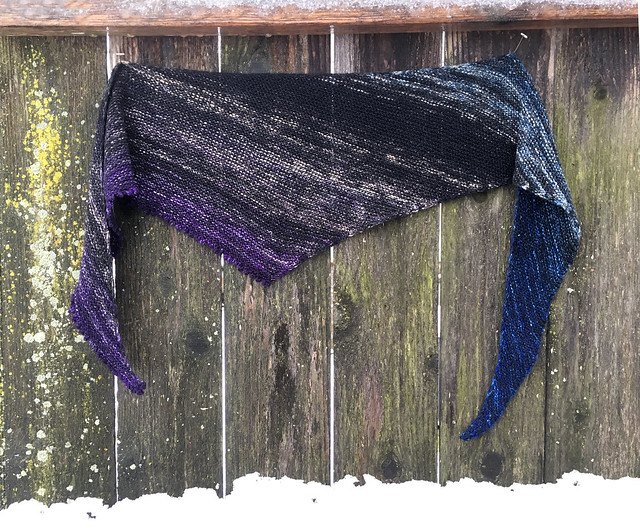
Or, if you are extremely impatient like me, you can just start unraveling your blank to knit directly from it! Sure, I was worried that using ramen noodle yarn would result in wonky stitches or uneven gauge, but for the pattern I chose (the Itty Bitty Picoty Shawlette, available for free with newsletter signup here), this wasn't an issue at all. Garter stitch is very forgiving, as was the soft and squishy yarn. A quick wet block worked out pretty much any kinked stitches, if any, and the shawlette grew to a very lovely size as a result.
I honestly didn't know what I was missing out on all these years....needless to say, I would definitely knit from a sock blank again!
Like this post? Pin it!


Comments
Post a Comment