Note: a version of this post originally appeared on the Nancy's Knit Knacks blog, for whom I was ghost writing for at the time. Since the future of this business is in flux (last I checked, the website was password protected with a conflicting coming soon/closing business message), I wanted to make sure that this tutorial wasn't lost, so I am republishing it here.
Have you ever admired a skein of hand dyed yarn and wondered if you could produce similar results at home? There are many methods of dyeing yarn: you can dip-dye, steam dye, kettle dye, solar dye, or even ice dye - but the basic principles are the same: heat is used to transfer pigment onto fiber, often using a mordant or fixative to aid the process.
Dyeing can be messy, and some dyes create harmful fumes that the at-home dyer may not want to invite into their living space. The good news is that there are plenty of safer options to try: Kool-Aid, food coloring, and even easter egg dye can be used to dye yarns and fibers at home (hot tip: now is the time of year to stock up on easter egg dye, it's on sale after the holiday passes!).
While these are great options for getting your feet wet, there are some limitations in the types of colors you can easily create. That's why I had to try Dye Tinctures from Abundant Earth Fiber. Each packet contains two “tea bags” of pre-measured dye and packets of citric acid (a fixative) to simplify the dyeing process. Using their tinctures, anyone can produce beautiful, professional results on their own.
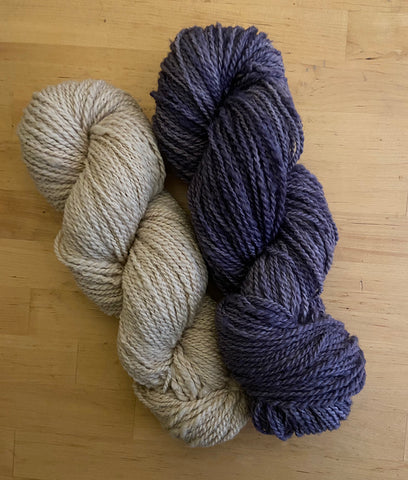
You may recognized this yarn from the free scarf pattern I shared on this blog at the start of last month; here is how I dyed the purple skein used in the pattern!
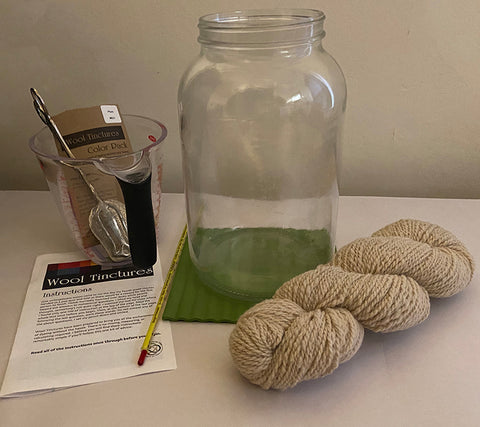
Supplies:
- 1 packet of Wool Tinctures from Abundant Earth Fibers (I used Plum)
- 1 large 1-gallon glass jar
- Thermometer
- Trivet or hot pad
- Measuring cup
- Tongs or stir stick
- Yarn or fiber to dye
- Optional: newsprint to cover dye area
Important Note: Make sure that anything you use to dye yarn NEVER gets used for food preparation.
If you have never dyed yarn before, the instructions included with the Tinctures will walk you through the process step-by-step. Here are the general steps you’ll follow, for this or when using any similar dye process:
1. Prepare your skein. Unwind the skein and make note the ties that are securing the ends. If they are knotted too tightly, the dye won’t be able to penetrate all of the yarn strands; loosen these knots as much as you can. If needed, add 1-2 more ties to keep your yarn from getting tangled during the due process (scrap yarn works just fine!).
2. Dampen your yarn. Soak your yarn in warm tap water - this will help it absorb the dye later on. Gently squeeze the skein to ensure that the water is completely absorbed.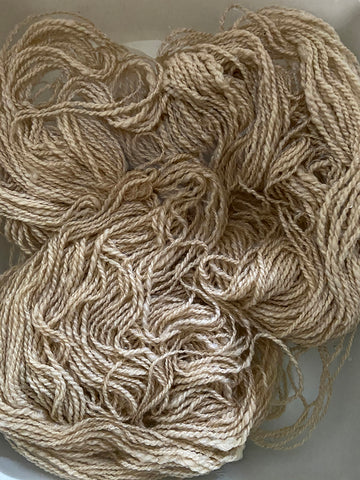 3. Prepare the jar. If you are using the glass jar method, pre-warm your jar by filling it with warm tap water while your dye water heats up (adding hot water to a cold glass jar could cause it to break).
  4. Prepare the dye bath. Place a trivet under the jar; when your hot water is the right temperature (between 180-190 degrees Fahrenheit), remove the warm water from the jar and replace it with the hot water. Drop in 1 Wool Tincture Bag and stir to dissolve. Remove the bag when the dye is fully dissolved.
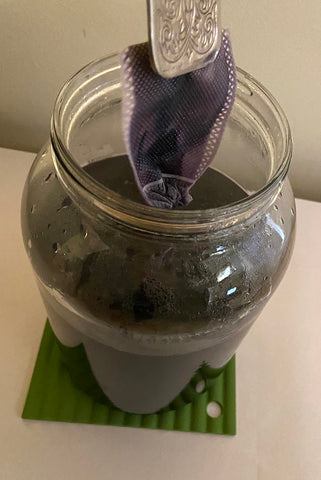
5. Add yarn. Remove excess water from your pre-wet skein and slowly lower the skein into the jar. Taking your time with this step will ensure that it takes the dye evenly - allow it to soak for a few minutes.
 6. Dye striking. Bond the dye to the fibers by adding the citric acid packet to the jar; stir gently while turning over the skein to encourage the citric acid to disperse.
7. Exhaust the dye. The water around your yarn will begin to appear clear (or mostly clear); when this happens, the yarn is ready to be removed from the bath. Wait until the jar is cool enough to handle before removing the yarn with the tongs. 
8. Cool, rinse & dry. Allow the yarn to cool, then gently rinse it in cold water to remove any excess dye. Hang or lay flat to dry. 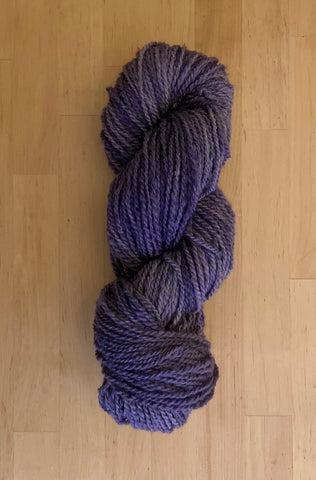
9. Enjoy! (That's the best part!)
Comments
Post a Comment