Sometimes, when you plan a project, it goes horribly wrong. For example, I was really excited to weave with some yarn I've been given at the
Creativation trade show at the start of this year; my plan was to make a soft and squishy bath mat using some recycled organic cotton yarn as the warp and t-shirt yarn as the weft. However, my plans quickly fell apart when I started warping my loom and discovered that I had completely miscalculated the amount of yardage I would need for this project. I ran out of yarn pretty quickly, and discovered that it was nearly impossible to purchase this yarn online, either from a yarn store OR via someone's destash on Ravelry.
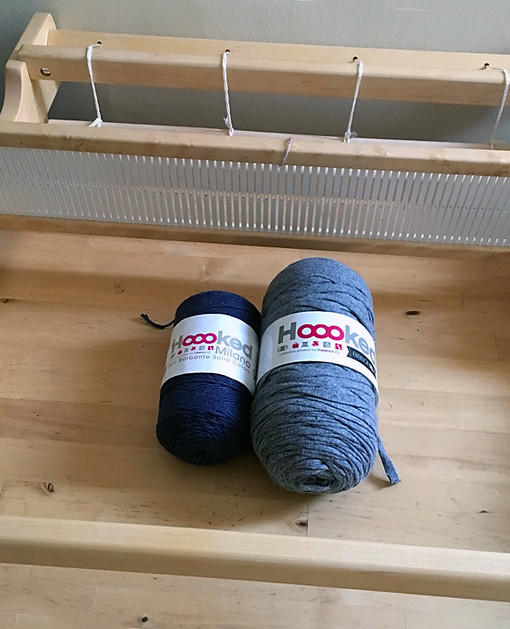 |
| It would have been such an awesome project... |
The problem with running out of yarn mid-warp is that you can't really take it off the loom and re-use it for something else. Once it's on, it's on, because it's such a pain to get off that you're better off just cutting your losses, quite literally. The thought of wasting such a lovely yarn that had been gifted to me was something I didn't think I could live with, so I left everything intact on my loom for several weeks while I racked my brain for something else it could be used for. There it sat, mocking me every time I glanced over at my loom (which is quite frequently because it's in the same room as my office!). And I absolutely could NOT think of another project that would be suitable for it.
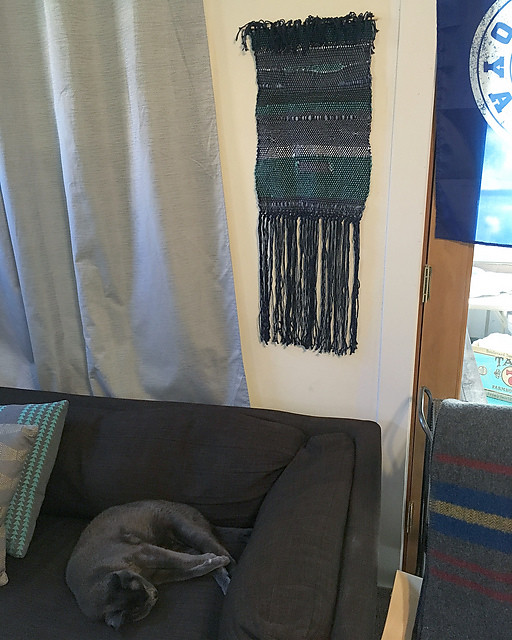
I was just about ready to give up and cut it off of my loom when I spotted something on Instagram that inspired me to try making it into a wall hanging. One Saturday afternoon, I grabbed a bunch of different leftover bits of yarn and some pieces of fiber and spent a few hours weaving away randomly, with no plan whatsoever....which is probably evident when you look at it!
For a first attempt, it's not bad, and I think it looks nice in our living room. Robin seems to like it, and curiously neither of the cats have discovered how fun it is to play with the fringe.....yet.
After making this project, I have a new appreciation for what goes into those trendy wall hangings I keep seeing everywhere - they look like they would be SO easy to do, right? I can tell you, there is a lot of skill involved and planning involved to create a truly great composition. Flying by the seat of my pants wasn't the best approach; I would definitely be more methodical and perhaps sketch something out ahead of time if I ever attempted another wall hanging project.
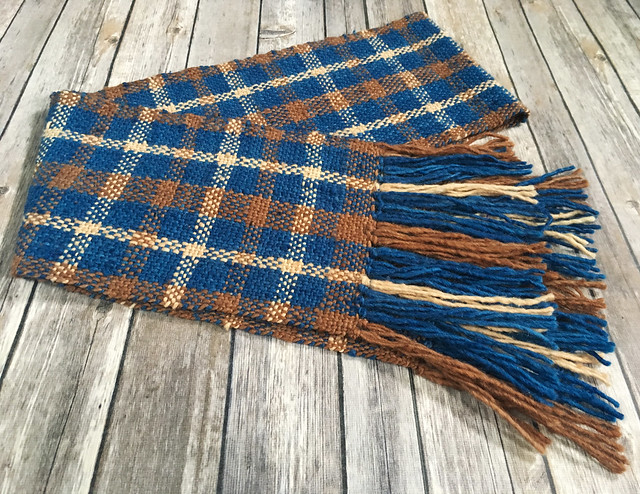
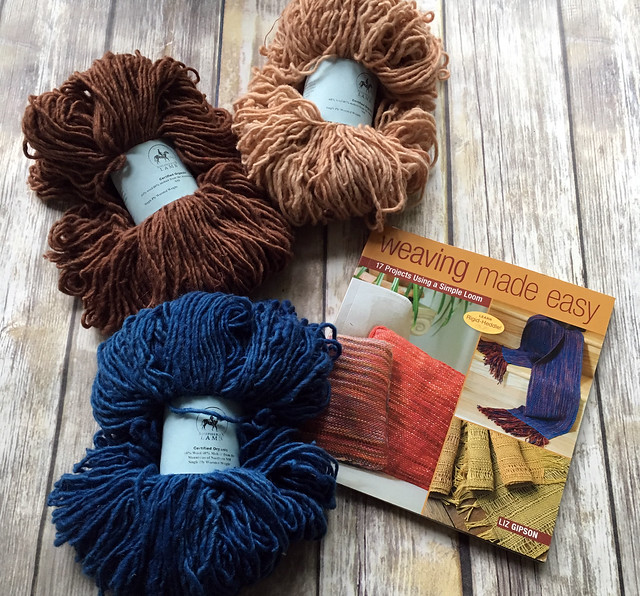
However, the real objective in finding a use for this warp was to get it off the loom so that I could start a new project that I had very much been planning: a version of the Color-Play Plaid Scarf from Liz Gipson's
Weaving Made Easy using 3 skeins of
Organic Rambouillet/Mohair single ply yarn from Shepherd's Lamb. I made a few modifications for the amount of yardage I had on hand and my preference to make the blue color dominant; I also wove a longer scarf, because I like to be able to wrap it around my neck a few times.
This project wove up really quickly, I think it took about 2 weeks from start to finish. The draft pattern was easy to memorize, and it made the weaving process fun and engaging. I could add 2 weft sequence in less than 10 minutes!
I love how this scarf turned out, and although I am not really a plaid-wearing person, I definitely enjoyed the weaving process and am looking forward to playing around with more plaid projects soon.
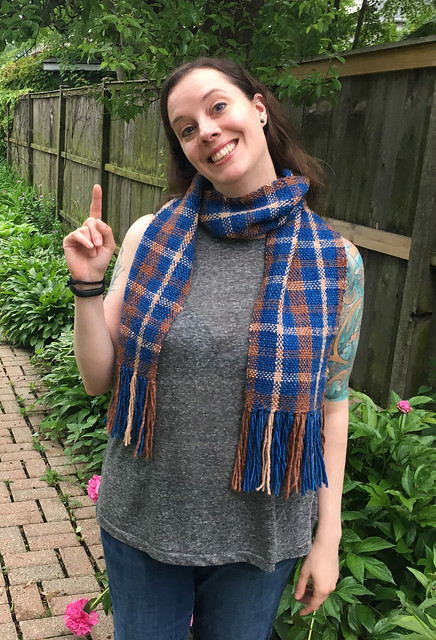 |
| Since I can't stop making crazy faces.... |
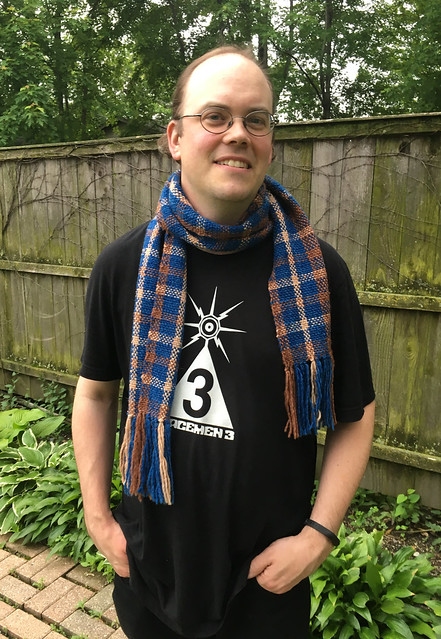 |
| ...Tyler had to take over modeling duties. |
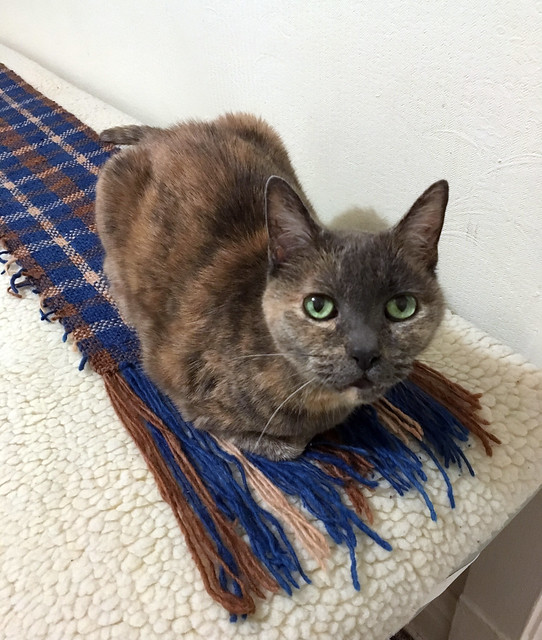
Tilly enjoyed laying on it while it was drying (weavers have the same #catladyproblems as knitters!), so I'm sure I can find someone who would love to wear this scarf!
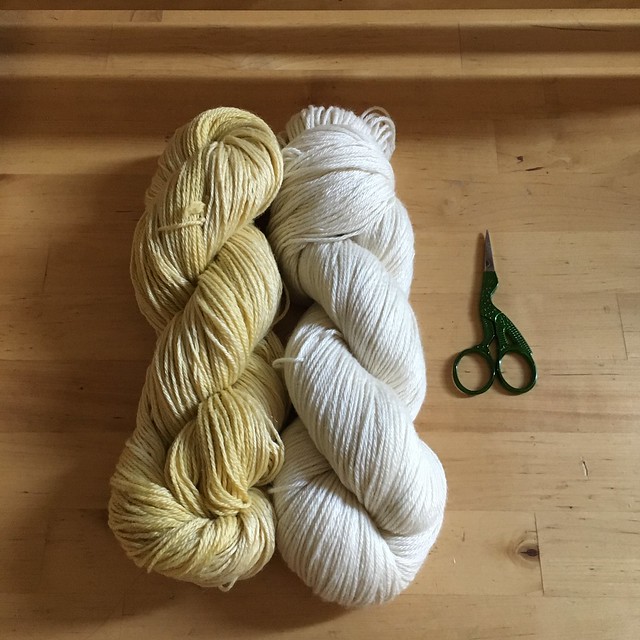
As soon as the plaid scarf came off the loom, I was rarin' to start another multi-color project. I found two skeins of
Lhasa Wilderness in my stash that I think will be fun to stripe with:
I have worked out my warp sequence, but still need to decide on the weft. I figure I'll play it by ear so that I can see what looks best as I start to weave. I'll be posting progress shots on
Instagram if you are interested in following along!



Comments
Post a Comment